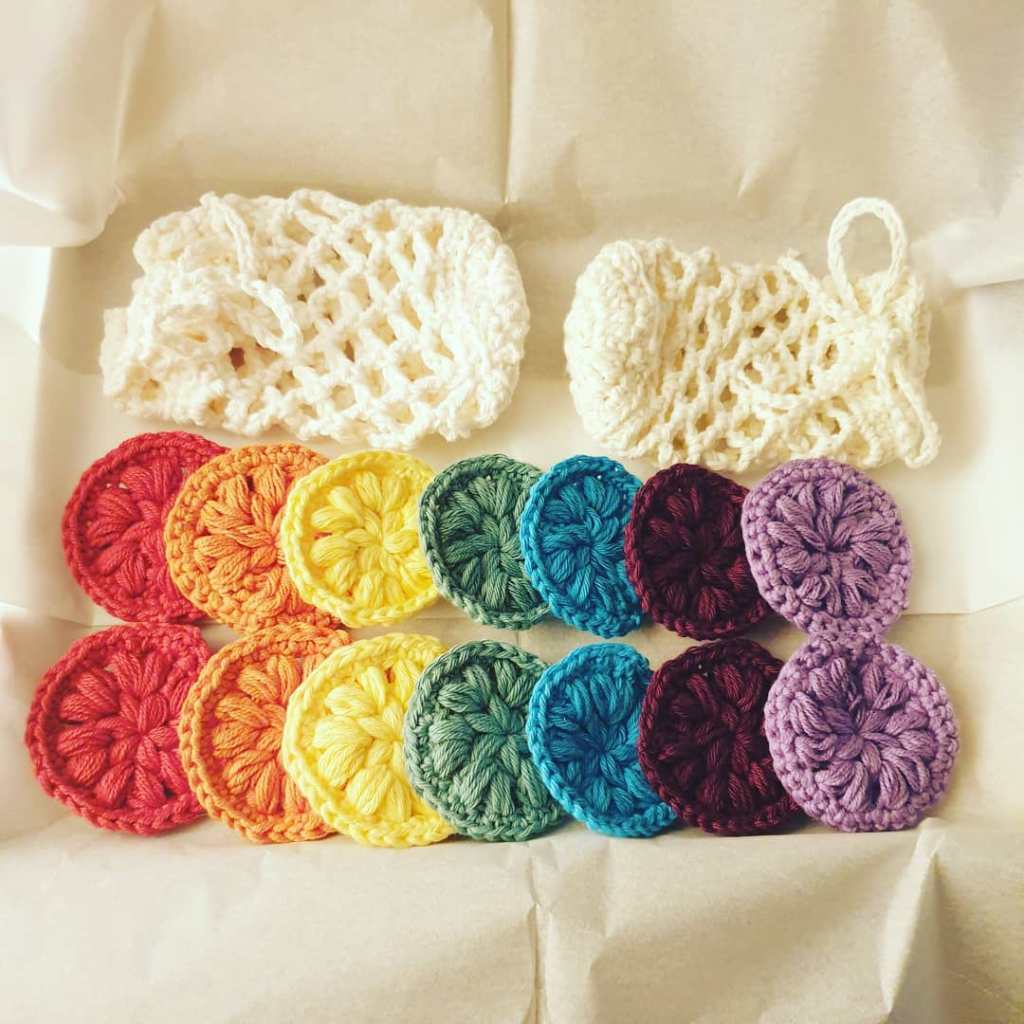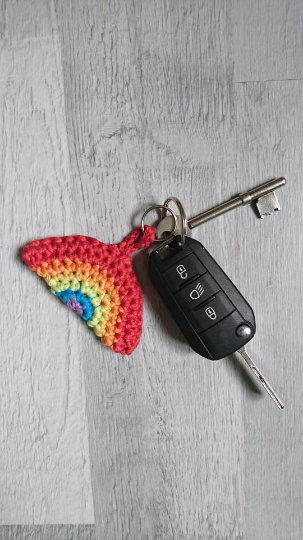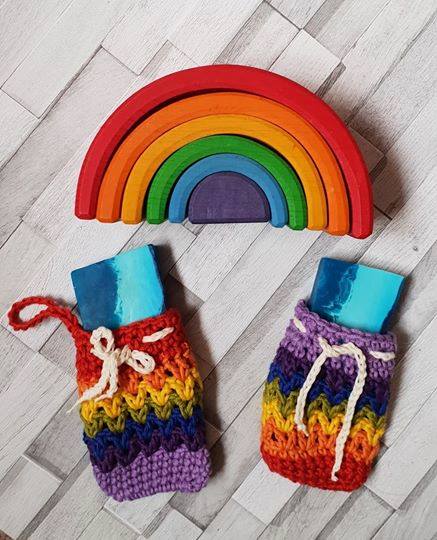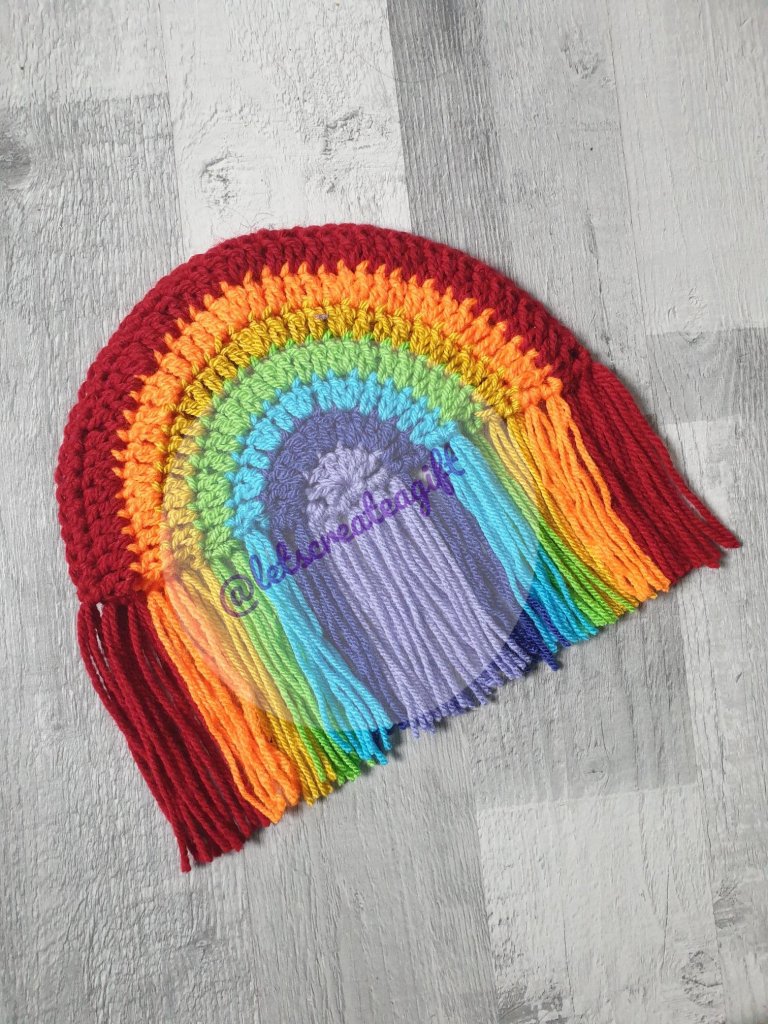
I’ve been making rainbow items for a while now like keyrings and soap savers (my fave are the mini keyrings, which are already listed on this blog) but I decided to upscale the pattern so that I could create a hanging decoration instead.
If you want to get the printable PDF with pictures and photo tutorial it’s available cheap on my Etsy store (use code LCAGblog for 50% off)
What you’ll need
- 7 Different colours in Double knit/light worsted. If you don’t have rainbow colours in your stash my favourites are the Stylecraft Special DK (not used in these pictures as I was stash busting)
- Lipstick, Jaffa, Sunshine, Kelly Green, Turquoise, Violet, Wisteria
- Sharp scissors (or I used a rotary blade, metal ruler and a cutting mat)
- Size 7 (4.5mm) hook (size is not critical so you could use a G or a H it will just alter the overall size)
- Optional Card
Let’s Begin
Chain 3 at the start of each round counts as your first Double Crochet of that round (this is a Treble crochet in the UK). Pattern will be worked as a circle and then folded in half.
Slip stitch to the top of the chain at the end of each round, then chain 1, snip your yarn and pull
through to secure. You will then tie on your new colour on every round.
Starting with the bottom colour Chain 4 and join to the first chain to create a circle.
(Violet) Round 1 – Chain 3, and then make 11 DC into the circle. Slip stitch to the top of the chain 3,
and tie off. (12)
(Purple) Round 2 – With new colour chain 3, DC in the same stitch. 2 DC in each stitch around. SL, tie
off. (24)
(Blue) Round 3 – With new colour Chain 3, DC in the same stitch. Then *1 DC , 2 DC * repeat from *
to * all the way around. SL and tie off. (36)
(Green) Round 4 – With new colour chain 3, DC in the same stitch. Then 1 DC, 1 DC, 2 DC repeat
from * to * all the way around. SL and tie off. (48)
(Yellow) Round 5 – With new colour chain 3, DC in the same stitch. Then 1 DC, 1 DC, 1 DC, 2 DC
repeat from * to * all the way around. SL and tie off. (60)
(Orange) Round 6 – With new colour chain 3, DC in the same stitch. Then 1 DC, 1 DC, 1 DC, 1 DC, 2 DC repeat from * to * all the way around. SL and tie off. (72)
(Red) Round 7 – With new colour chain 3, DC in the same stitch. Then 1 DC, 1 DC, 1TC, 1TC 1 DC, 2 DC repeat from * to * all the way around. (84) SL and chain 1
Optional – If you want to make your semicircle more rigid it is at this point you can cut a semicircle
out of some stiff card, like a cereal box) and use it in your semicircle. I didn’t do this with mine as it
means it can’t go in the washing machine if needed.
Fold your circle in half. Continuing in your last colour you will now single crochet (Double in the UK) through BOTH sides of the semicircle to join it together. If you’d like to add a hanging loop then when you have done 21 Double crochet chain to create your loop and re-join and continue Double
Crocheting the semicircle together.
When you get to the end, chain 1, snip the yarn and pull through the yarn to secure the chain. You can then weave this end in.
Creating the tassels
You will need the following strands to create the tassels.
Colour 1 (Lilac) – 24
Colour 2 (Purple) – 16
Colour 3 (Blue) – 16
Colour 4 (Green) – 16
Colour 5 (Yellow) – 16
Colour 6 (Orange) – 16
Colour 7 (Red) – 24
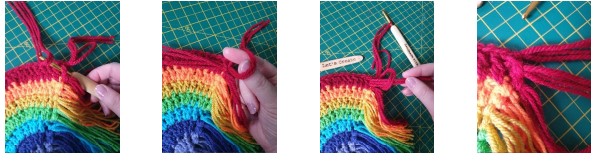
To make the tassels you can either cut a piece of card the length you want the tassel to be and then wrap the yarn around or you could use a debit card or similar length ways (I used my phone). This is just an easy way to get all your strands about the same length. Wrap the yarn around the rectangle the number of times you need and then snip at one end. Take 2 tassels and fold in half to create a loop. Insert your hook through the bottom treble crochet
and pull through the loop. Then fold the strands down through the loop and pull tight. This will create your tassel. Continue this all the way along, the centre colour and end colour will have more strands as there is the extra row of Double crochet on the outside and the starting circle on the
inside. If you always insert your hook from the same side the front of your rainbow will look uniform. Then using your sharp scissors, you can trim the tassels to the same length. I lay mine on a cutting board, straightened the strands, lay down the metal ruler and used my cutting wheel to trim so that they were all the same length.
You are welcome to use this pattern to make items for gifting and/or selling, however please do not redistribute the pattern and instead share this page.
If you make one remember to tag me on insta, facebook or Tiktok @letscreateagift
Find me on Social Media for more free patterns, tutorials and crochet related chat
Tiktok – @letscreateagift
Ravelry – https://www.ravelry.com/designers/lets-create-a-gift
Etsy – https://www.etsy.com/uk/LetsCreateAGift/listing/791463659/pdf-pattern-crochet-7-colour-rainbow?utm_source=Copy&utm_medium=ListingManager&utm_campaign=Share&utm_term=so.lmsm&share_time=1652373499734
Facebook – https://www.facebook.com/letscreateagift/
Youtube –
https://www.youtube.com/channel/UCAqVuR1wC39D_31MovTXVJA?view_as=subscriber
Have fun and happy crocheting